

CRAFT Challenge, New Theme - Shaker Card
This post which includes a video shows how I create a shaker card using the shaker frame and components from The Cutting Cafe. I used the Square Shaker Card Set to create a happy new year card.
The images from The Cutting Cafe come in many different file extensions. I was excited when I saw SVG files as I thought I could use my very old (over 10 years old) Silhouette SD to cut the images but it did not work - possibly because I did not do it right but I shall persevere. Anyhow as the deadline to this challenge came nearer I decided it was time to put trying to get my Silhoutte SD machine working and create a card. So I used the PDF version of the file.
Check out the video below.
Happy New Year

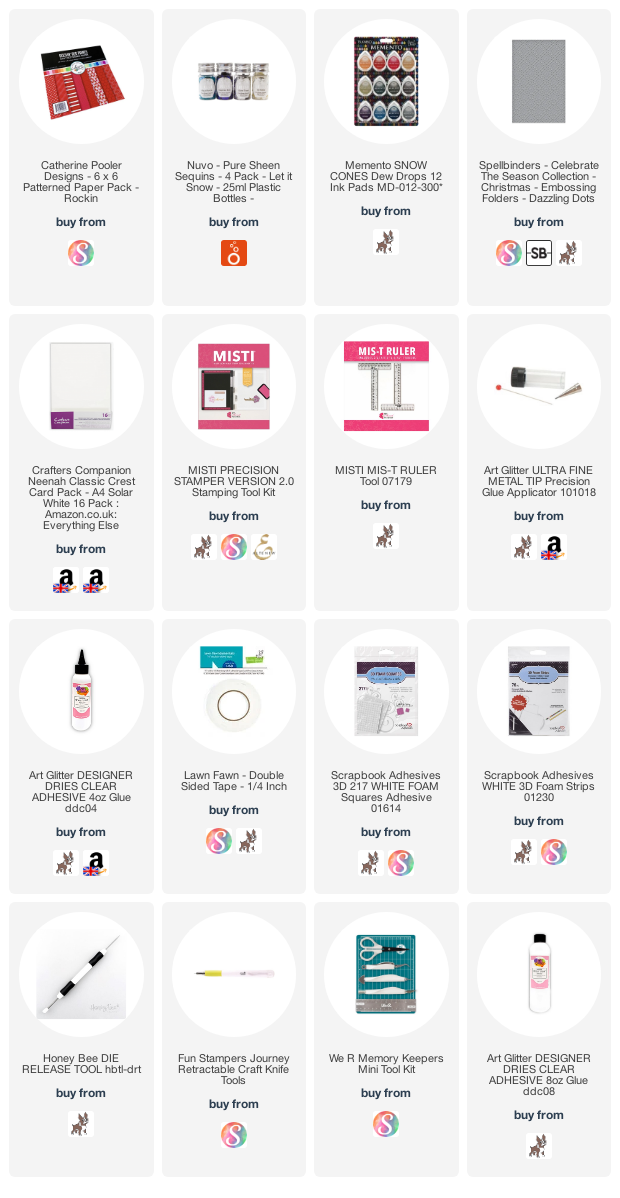
Disclosure: Where available I use compensated affiliate links which means if you make a purchase, I receive a small commission at no extra cost to you. Thank you so much for your support!
The Cutting Cafe PDF file for the Square Shaker Card Set features in this card. Print the shaker image which is the square frame on Catherine Pooler Rockin’ Red Patterned Paper Pad. Use a magnetic mat and magnetic ruler with a craft knife to cut frame. The backing is the cut out square when cutting the frame and for the transparency in front of the shaker, I used plastic from packaging. I layered the frame to give it some sturdiness, added the plastic window between these layers.
For card base background, used Spellbinders Dazzling Dots embossing folder. Note: to ensure the paper does not crack when being embossed, spritz some water on the back of the card panel to be embossed. This softens the card fibres and prevents cracking. Attach embossed card panel to card base with double-sided tape.
Attach backing of the shaker onto the card front. Then add adhesive foam strips to the back of the square frame. Note: Ensure the foam strips leaves no gaps for the shaker elements to ‘leak out’. So the shaker elements do not stick to any of the adhesive to the side of the foam strip, treat it with anti-static powder.
Add Nuvo Pure Sheen Sequins, Ice White and Silver Tinsel from the Let It Snow Sequin Pack to the centre of the square. After spreading out the sequins, remove the backing of the adhesive foam strips on the shaker frame and carefully place it on the square. Note: To give time to adjust and ensure perfect alignment, add some liquid glue to the foam strips after removing the backing. Gently but firmly press on the frame to ensure it is adhered. That’s the shaker element done.
Die cut ‘2023’ with number dies. I used an old set from Quickutz, Chocolate All-on-One Mini Unicase Alphabet Set. I cut three layers of each number, layered them together and attached it to the top part of the shaker window. Stamped ‘happy new year’ from Winnie & Walter Sentimental Winter Stamp Set in Memento Love Letter ink. Fussy cut the sentiment and adhered to card from with some foam squares.
That’s the card completed. Hope you like the card, and do leave comments below. All products used, where still available, are linked below and in the text, as relevant.
Disclosure: Where available I use compensated affiliate links which means if you make a purchase, I receive a small commission at no extra cost to you. Thank you so much for your support!
Thank for stopping by and happy crafting!