

CRAFT Challenge #669, Not a Card

Bookmarks
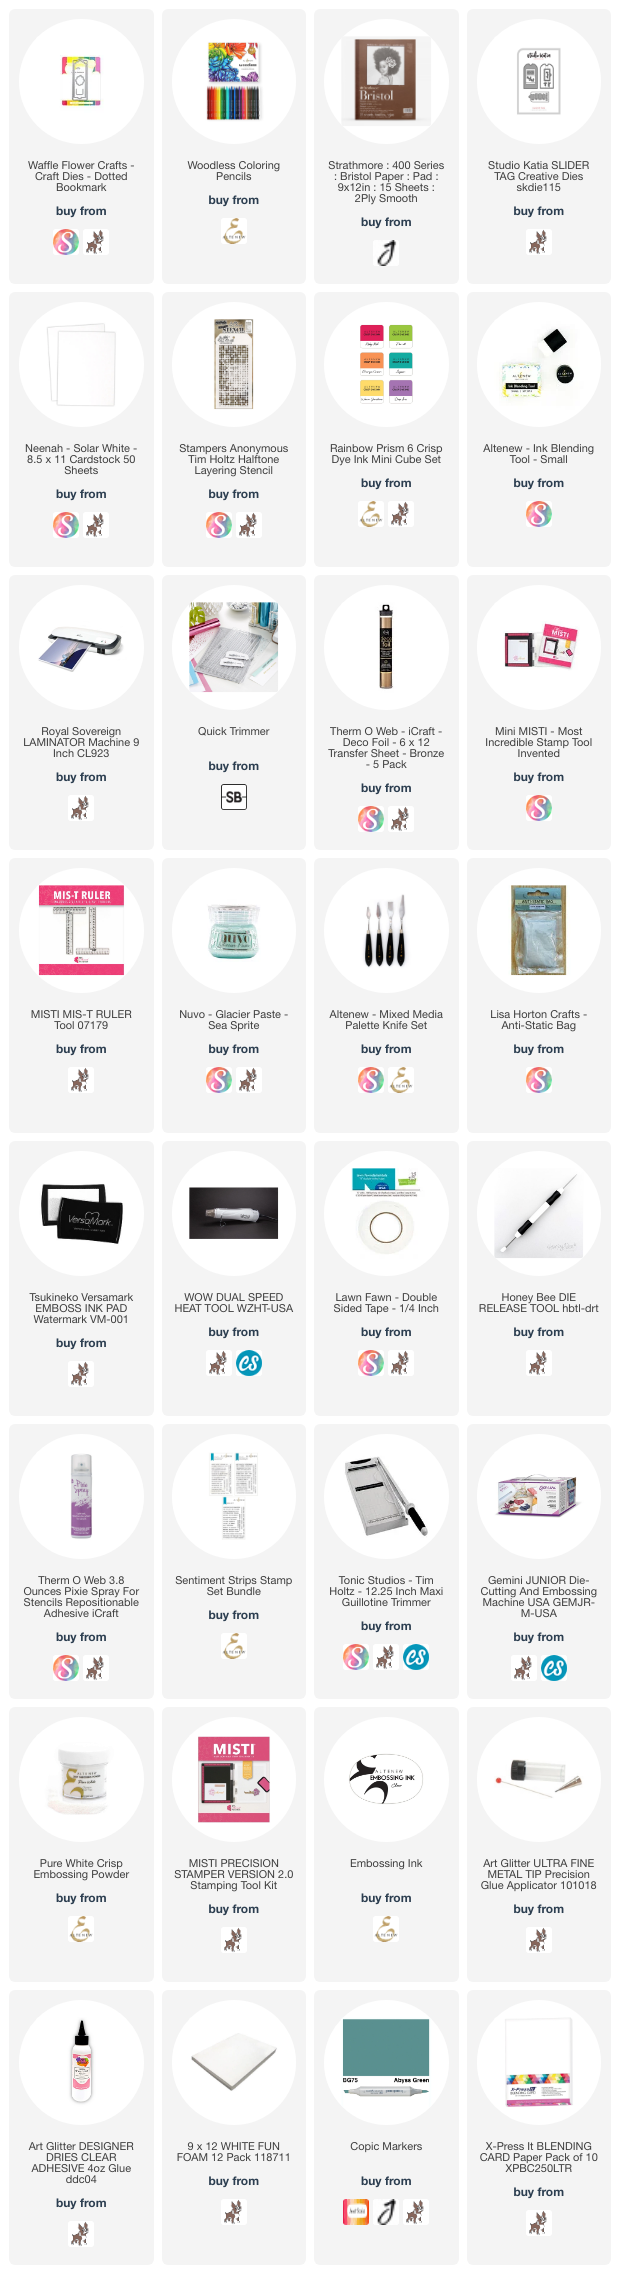
Disclosure: Where available I use compensated affiliate links which means if you make a purchase, I receive a small commission at no extra cost to you. Thank you so much for your support!
This post is for CRAFT Challenge #669 sponsored by The Cutting Cafe, where I use the Flower 2 Huge Printable Stamp. The size of this image which comes in a PDF doc can be changed when printing. The theme is ‘Not a Card’, and I make a bookmark. However I also make a card to send the bookmark to our niece, Holly, who has recently been unwell. She is part of a twin, so I also make an extra bookmark for her twin, Maci. Thought it’d be nice for each of them to have a handmade bookmark.

Back of the bookmark


Disclosure: Where available I use compensated affiliate links which means if you make a purchase, I receive a small commission at no extra cost to you. Thank you so much for your support!
Bookmark #1

Print the Flower 2 Huge Printable Stamp at 40% of it’s size on Strathmore Colored Pencil 100lbs 400 series. This paper is conducive to colour pencils. After printing, I use the Waffle Flower Dotted Bookmark die set to die cut the image to make a bookmark. I also print the image on copier paper, where I fussy cut it, spray the back of the fussy cut image with temporary adhesive, to use as a mask.

The ‘squarish U’ die in the image above (on the right) is the element that makes the dotted rectangle into a bookmark. It is best to place that die onto the bookmark once the colouring and attaching the back of the bookmark together - then run it through a die cutting machine.

I colour the image with Altenew Woodless Coloring Pencils, as follows:
Flower - Ruby Red, Crimson, Heart Beat, Autumn Blaze, Orange Cream, Maple Yellow
Leaves/Stems - Shadow Creek, Grass Field, Limeade, Volcano Lake
Place the mask on the flower image and do some Copic airbrushing. The Copic ink that I used for the background area B32, B35, B37, and B39. Splatter some white gouache on the bookmark and leave to air dry.
Die cut ‘enjoy’ from Studio Katia Slider Tag a couple of times, adhere the sentiment together with liquid glue and affix to bottom of bookmark. Die cut another bookmark die cut on plain white card, place Tim Holtz Halftone stencil on it and apply Warm Sunshine, Orange Cream, and Ruby Red inks (from the Rainbow Prism set) on it with a small blending tool. Then adhere to back of the bookmark die cut that is now coloured.
The bookmark is now complete!
Bookmark #2

I use the mask from Bookmark #1 for the flower in Bookmar #2. Before that I die cut the bookmark die cut twice using the Waffle Flower Dotted Bookmark die set. Then place the Tim Holtz Halftone stencil on both the bookmark die cuts and apply Altenew Rainbow Prism Crisp Dye Ink set with small blending brushes. Note: I have one small blending brush for each colour family.

Then I attach the two die cuts together with double-sided tape and place the ‘squarish U’ die infrom Waffle Flower Dotted Bookmark die set, which is the element that makes the dotted rectangle into a bookmark. It is best to place that die onto the bookmark once the colouring and attaching the back of the bookmark together - then run it through a die cutting machine.
Finally, adhere die cut ‘books’ to bottom of bookmark.
The Accompanying Card (optional)
Print the Flower 2 Huge Printable Stamp at 40% of it’s size on X Press It Blending Card and copier paper with a laser printer. Note: All printers have different options of setting, this is the setting required for the Brother laser printer that I use. Turn on laminator to heat up and be ready. Cut the Bronze Deco Foil with a quick trimmer to the size of the printed image. Place piece of trimmed to size Bronze Deco Foil (pretty/shiny side up) on printed image and place into a folded sheet of copier paper, which will serve a a carrier sheet. Run through carrier sheet which holds the printed image and Bronze Deco Foil through the laminator. Tip: I used a very old and cheap laminator, so I had to run the carrier sheet through the laminator five times! However if you have a new laminator , once or twice should do the trick.

Remove mask and colour image with Copic markers. Copic markers used are as follows:
Flower - R81, R83, R85, R89, and Prismacolor pencils, PC917 and PC1003
Leaves & Stem - YG93, YG95, YG97
Place mask back onto the coloured flower. The background was achieved by airbrushing Copic markers, BG11, BG72, and BG78 in an ombre manner. Then place Tim Holtz Halftone stencil on the card panel and apply Nuvo Glacier Paste, Sea Sprite with a palette knife. Leave to air dry.
Use a T-ruler, and pen knife to cut a straight line around the flower image on the left. With the aid of a scissors, cut around the flower. Back card panel with fun foam and adhere to A2 card base with double-sided tape.
The sentiment is from Altenew Sentiment Strips stamp set. Stamp sentiment, ‘hope you feel better soon’ with clear embossing ink, sprinkle Pure White Crisp embossing powder, and melt embossing powder with a heat tool.
Adhere some raindrop dew gems with liquid glue and a gem picker tool to finish card.

Disclosure: Where available I use compensated affiliate links which means if you make a purchase, I receive a small commission at no extra cost to you. Thank you so much for your support!
Thank for stopping by and happy crafting!